
Why Building Your Own Gaming PC Changes Everything
A custom gaming computer build is the ultimate way to get a high-performance gaming PC that is perfectly suited to your specific needs and budget. It's a project that puts you in complete command of your gaming future. Here is a brief look at the process.
Quick Answer: Building Your Custom Gaming PC
- Choose your CPU and GPU - Pick components based on your gaming goals (1080p vs 4K).
- Select motherboard, RAM, and storage - Make sure they are compatible with your CPU.
- Add power supply and cooling - Match the wattage and cooling capacity to your components.
- Assemble carefully - Follow the correct installation steps for each part.
- Install OS and optimize - Set up Windows and update all your drivers.
When you build your own high performance gaming pc build, you take control. You are not just potentially saving money; you are choosing every single component that influences your gaming experience. This means you no longer have to accept pre-built systems that might use a lower-quality power supply or provide inadequate cooling for high-end parts. You decide on the balance between performance, aesthetics, and cost.
Building your own rig means you determine which games run at what frame rates. You select parts that work together in harmony. When new technology becomes available, you can upgrade individual components, like the graphics card or storage, instead of being forced to purchase a whole new system. A custom build gaming pcs setup is about being prepared for tomorrow's demanding game releases without suffering from lag or making visual compromises. The process itself is also deeply rewarding, giving you a greater understanding of the technology you use every day.
Whether you are aiming for high refresh rates in competitive titles at 1080p or want to experience stunning single-player worlds at 4K resolution with all settings maxed out, building your own gaming PC puts you in the driver's seat. And if the DIY approach does not appeal to you, professional builders like Syber offer expert assembly with the same level of customization and component choice.

Your Step-by-Step Custom Gaming Computer Build Guide
Building your own custom gaming computer build is more straightforward than you might think, and the reward is a machine perfectly tailored to you. As experienced builders often say, creating your own PC ensures it meets all your needs.
Part 1: Selecting Your High-Performance PC Components
Think of component selection as assembling your dream team. Each piece is vital to your system's performance.

CPU Selection: The Brains of the Operation
Your CPU is the brain of your high performance gaming pc build. Focus on clock speed for faster frame rates and core count for multitasking and modern games. Higher clock speeds, measured in gigahertz (GHz), generally lead to better performance in many games. A higher core and thread count helps with running multiple applications at once, like gaming while streaming or having other programs open. A processor like an Intel® Core™ Ultra or Intel® Core™ processor with a good balance of both is ideal for most gamers.
GPU Choice: The Heart of Your Gaming Experience
Your Graphics Processing Unit (GPU) renders every pixel. A discrete graphics card, like an Intel® Arc™ B-series GPU, is essential for serious gaming. Your choice should depend on your gaming goals:
- 1080p Gaming: A mid-range GPU is sufficient for smooth 1080p gameplay.
- 1440p/4K Gaming: For 1440p or 4K gaming, a more powerful GPU is necessary. Look for a card with more video RAM (VRAM), as this memory is used to store game textures and assets. 12GB of VRAM or more is a good target for higher resolutions and future-proofing your build.
The GPU is often the most expensive part, but you can always upgrade later. For insights on balancing performance with smart spending, check out Syber Machine Value & Performance. Your CPU and GPU choices are the foundation of your custom build gaming pcs performance.
Part 2: Choosing the Right Motherboard, RAM, and Storage
These components tie everything together.
Motherboard: The Central Hub
Your motherboard connects all your components. Key considerations are:
- Form Factor: This is the size. ATX is the standard, MicroATX is smaller, and Mini-ITX is for compact builds.
- Chipset Compatibility: Your motherboard's chipset must match your CPU. Use tools like the Intel® Desktop Compatibility Tool to verify before you buy.
Also, consider the features you need. Look at the number and type of USB ports on the rear I/O panel, whether it has built-in Wi-Fi, and the number of M.2 slots for fast NVMe storage. A motherboard with a robust power delivery system (VRMs) will also provide more stable power to the CPU, which is important for higher-end processors.
RAM: Your PC's Short-Term Memory
RAM stores data your system is actively using. For modern gaming, 16GB is the minimum. For a high performance custom prebuilt gaming pc, 32GB of fast DDR5 RAM is becoming the standard, providing headroom for multitasking. When installing RAM, use two sticks to take advantage of dual-channel memory, which doubles the data transfer rate between the RAM and the memory controller, offering a noticeable performance boost. Check your motherboard manual to see which specific slots to use.
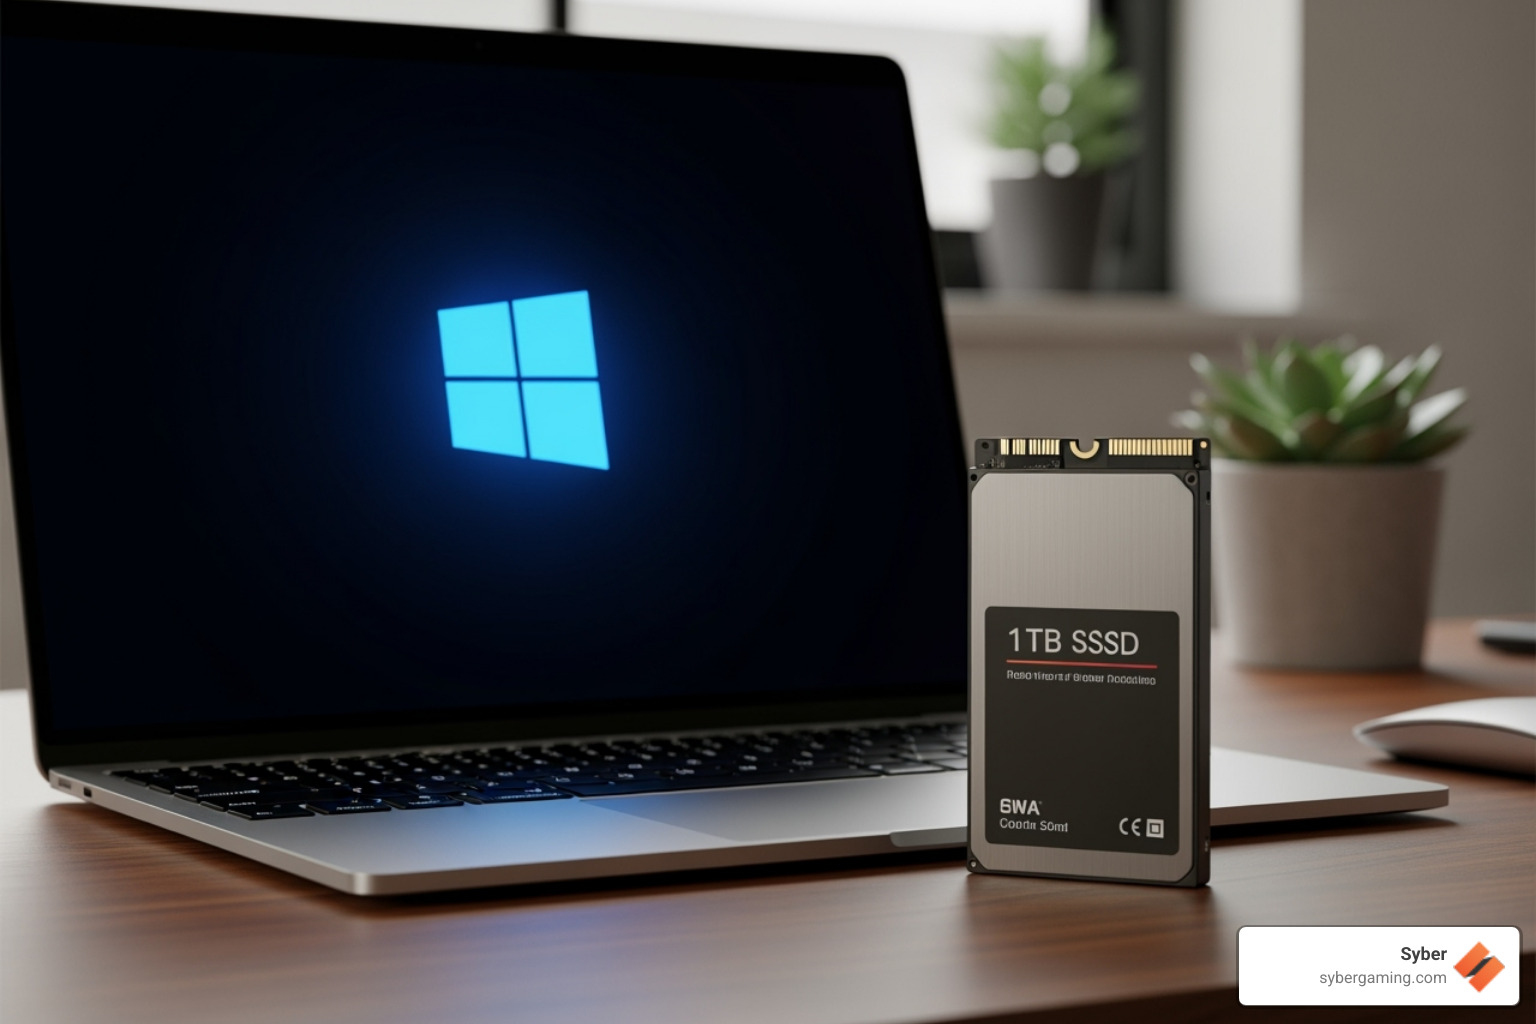
Storage: Speed and Space
SSDs are now essential for gaming, offering faster load times than traditional HDDs.
- NVMe SSDs: These are the fastest option, connecting directly to the motherboard for near-instant boot and load times.
- SATA SSDs: A more budget-friendly SSD option.
- HDDs: Still useful for mass storage of files and games that don't need top speed.
A common setup is a fast NVMe SSD for the OS and favorite games, with a larger SATA SSD or HDD for extra storage. The difference is significant: an NVMe drive can boot your operating system in seconds and drastically cut down on game loading screens, getting you into the action faster.
Part 3: Power, Cooling, and Casing Your Build
These components are essential for keeping your high performance desktop pc stable and cool.

PSU Wattage: Powering Your Beast
Your Power Supply Unit (PSU) must provide enough power for your components. Use a PSU Wattage Calculator to determine your needs. Look for an 80+ certification for efficiency. This rating (like 80+ Bronze, Gold, or Platinum) indicates how efficiently the PSU converts AC power from your wall outlet to DC power for your components. Higher efficiency means less wasted energy, less heat, and often quieter fan operation. Modular PSUs, where you only attach the cables you need, are also recommended. They make cable management much easier and improve airflow inside the case compared to non-modular units with a permanent bundle of cables.
System Cooling: Keeping Your Cool
Proper cooling is crucial for a gaming pc high performance setup. Air cooling uses fans and heatsinks to move hot air away from your CPU and out of the case. Aftermarket CPU air coolers are a significant upgrade over the stock coolers included with some CPUs, offering better temperatures and lower noise levels. Good chassis airflow is also key. A typical setup involves using fans at the front of the case for cool air intake and fans at the rear and top for hot air exhaust. This creates a clear path for air to move through the system, cooling all your components effectively.
Case Sizes: Your PC's Home
Your PC case houses everything. Sizes range from large full-towers to popular mid-towers and compact mini-towers. Mid-towers are the most popular choice, offering a great balance of space for components and a manageable physical size. Full-towers are larger, providing maximum room for components and cooling, but take up a lot of space. Mini-ITX cases are for small, compact builds, but can be more challenging to build in and may have limitations on component size. Choose a case that fits your components, has good airflow, and matches your style.
Part 4: Assembling Your Custom Gaming Computer Build
This is where everything comes together. Follow the blueprint, and you'll have your PC built in no time.
 - Custom gaming computer build")
Prep Work: Get Ready to Build
Gather your tools: Phillips screwdrivers, an anti-static wrist strap, zip ties, and a USB drive for your OS. Work in a clean, well-lit area. Keep your component manuals handy.
Step-by-Step Installation
- CPU Installation: Hold the CPU by its edges, align the arrow on the CPU with the one on the motherboard socket, and gently lower it into place. Secure the retention lever. Do not use force.
- RAM Installation: Open the clips on the RAM slots. Align the notch on the RAM stick with the slot and press down firmly until the clips lock into place. Check your manual for which slots to use for dual-channel performance.
- Motherboard Mounting: Install the I/O shield in the case first. Align the motherboard with the standoffs in the case and secure it with screws. Do not overtighten. One of the trickiest parts for new builders is connecting the small front panel connectors from the case to the motherboard for the power button, reset button, and indicator lights. Refer to your motherboard manual's diagram carefully for this step.
- GPU Installation: Open the retention clip on the main PCIe x16 slot. Align your GPU and press it in until it clicks. Secure it to the case and connect the necessary power cables.
Final Touches
- Cable Management: Route cables behind the motherboard tray and use zip ties or velcro straps to bundle them neatly. Good cable management is not just for looks; it significantly improves airflow, which helps keep your components cool and performing their best.
- OS Installation: To bring your PC to life, you'll need an operating system like Windows 11. You can download the installer to a USB drive from here. Boot from the USB drive and follow the installation prompts.
Building your own build high performance gaming pc is rewarding, but if the process seems daunting, professional assembly is a great alternative.
Post-Build: Optimization and Professional Alternatives
Your custom gaming computer build is assembled, but a few final tweaks will open up its full potential.
Fine-Tuning for Peak Performance and AI-Improved Gaming
Post-build optimization transforms a good PC into a great one. Here are the key steps:
- Update Drivers: Your first step should be to install the latest drivers for your GPU, motherboard chipset, and other components. Download them directly from the manufacturers' websites for performance improvements and stability.
- Adjust BIOS Settings: Enter your BIOS to enable XMP (or EXPO for AMD) to ensure your RAM runs at its advertised speed. Without this, you're leaving performance on the table.
- Stress Test and Tune: After your initial setup, it is a good idea to run stress tests on your CPU and GPU to check for system stability under heavy load. This helps confirm that your cooling is adequate and your components are running correctly. You can also fine-tune your case fan speeds in the BIOS or with software to find your preferred balance between cooling performance and noise level.
- Explore AI Gaming Technology: Modern hardware includes AI-driven performance features. AI-powered graphics can upscale images to deliver higher frame rates, while AI system optimization can manage power and resources automatically. These features create an AI-ready gaming PC that adapts to how you play and can even reduce latency. Learn more about latency reduction with technologies like Wi-Fi 6 here.
The Pro-Build Advantage: Why Consider an Expert Custom Gaming Computer Build
Building a PC is rewarding, but it can have pitfalls like component incompatibility or improper installation. This is where professional builders shine.
When you invest in a high performance custom prebuilt gaming pc from a company like Syber, you're paying for expertise. Every machine is Hand-Built by Experts: The Syber Way in City of Industry, California. This means experienced technicians assemble and test each system.
Syber's rigorous testing and quality assurance catch potential issues before they reach you. They also offer a three-year parts warranty and a five-year labor warranty, providing peace of mind for your investment in a high performance desktop pc. A professionally built system arrives fully optimized and ready for peak performance.
Whether you choose the compact M-Series or another model, you get a pre built gaming pc customizable to your specs without the stress of assembly. The choice is yours: enjoy the journey of building or jump straight to the destination with an expertly crafted machine.
Ultimately, the choice between a DIY build and a professional one comes down to your personal preference, time, and comfort level. The journey of building a PC can be incredibly satisfying, but the convenience and security of a professionally built and tested machine are undeniable. Whichever path you choose, the goal is the same: a powerful gaming PC built just for you. Ready to explore your options? Take the next step toward your ultimate gaming setup.
Explore Syber Gaming's Custom PCs
Discover Syber's M-Series Custom Builds
Check out Syber's Cube Series Gaming PCs


.svg)

