The Ultimate Reward of a DIY Gaming Rig
Build your gaming PC and gain complete control over your gaming experience. Building a high performance gaming PC offers rewards beyond just playing games, giving you custom performance, full customization, and easy upgradeability.
The process is surprisingly straightforward. As one builder noted, "If you can finish a puzzle, then you can build your own PC." You'll learn how each component works, which simplifies future troubleshooting and upgrades.
Custom build gaming PCs also provide better value than pre-built options. You invest only in the components you need, whether it's a powerful GPU for gaming or a faster CPU for AI multitasking and content creation. The experience is rewarding, saving you money while you create a system perfectly matched to your style and budget.
Essential Steps to Build Your Gaming PC:
- Choose your CPU and GPU
- Select motherboard, RAM, and storage
- Pick PSU, cooling, and case
- Assemble components
- Install OS and optimize

Your Blueprint: Choosing Parts for a High-Performance Gaming PC Build
Building a high performance gaming PC is like assembling a specialized team. Each component has a specific role, and the beauty of a custom build gaming PC is that you handpick every part. A successful high performance gaming PC build starts with understanding these key players.
- CPU (Processor): The strategist that coordinates every task.
- GPU (Graphics Card): The visual powerhouse that renders your games.
- Motherboard: The communication hub connecting all components.
- RAM (Memory): Provides fast access to data for smooth performance.
- Storage: Holds your games, files, and operating system.
- PSU (Power Supply Unit): Energizes the entire system.
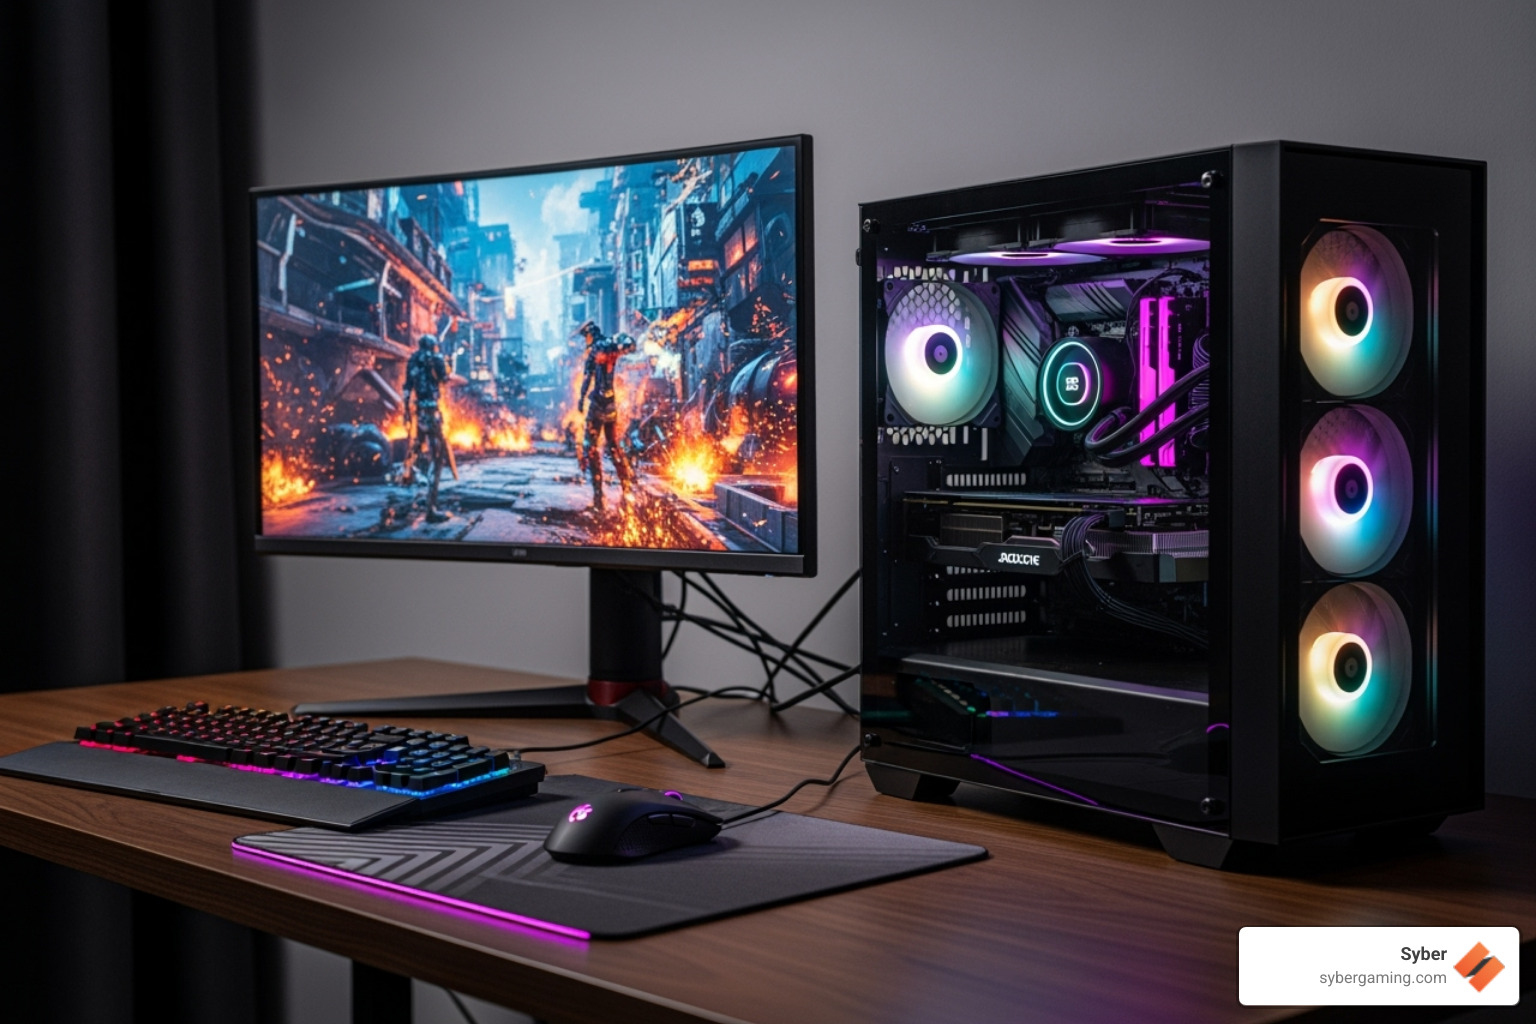
- Case & Cooling: Houses and protects components while maintaining optimal temperatures with air cooling.
Building your own high performance desktop PC means every dollar goes exactly where you want it, whether that's more graphics power for 4K gaming or a stronger CPU for streaming.

The Brains and Brawn: CPU and GPU Selection for Gaming PC High Performance
Your CPU and GPU are the core of your gaming PC high performance.
Finding Your Perfect CPU
The CPU handles game physics, AI, and background tasks. Key factors include:
- Core Count: Modern games benefit from six or more cores, especially if you stream or multitask.
- Clock Speed: Higher speeds mean faster task completion and better frame rates.
- AI Multitasking: Modern CPUs handle complex background tasks like voice processing and game optimization efficiently.
Choosing Your Graphics Powerhouse
The GPU renders everything you see on screen. Consider these points:
- Gaming Needs: Your play style, whether competitive esports or immersive open-world games, should guide your choice.
- Target Resolution and Frame Rates: Gaming at 1440p or 4K requires more GPU power than 1080p. High frame rates (144fps+) also demand a strong GPU.
- VRAM: More VRAM is needed for high-resolution textures to prevent pop-ins.
- AI-Powered Graphics: Modern GPUs use specialized cores for AI graphics rendering, enabling features like intelligent upscaling and ray tracing that boost performance and visual quality.
You can explore more about Syber's GPU options and how they improve your gaming experience at Syber's official website.
The Foundation: Motherboard, RAM, and Storage for Custom Build Gaming PCs
These components are the essential support structure for your custom build gaming PC.
Selecting Your Motherboard
The motherboard connects everything.
- Form Factor: ATX offers the most expansion, Micro-ATX is a good middle ground, and Mini-ITX is for compact builds.
- Socket Compatibility: The motherboard's socket must match your chosen CPU.
RAM That Keeps Up
RAM is your PC's short-term memory.
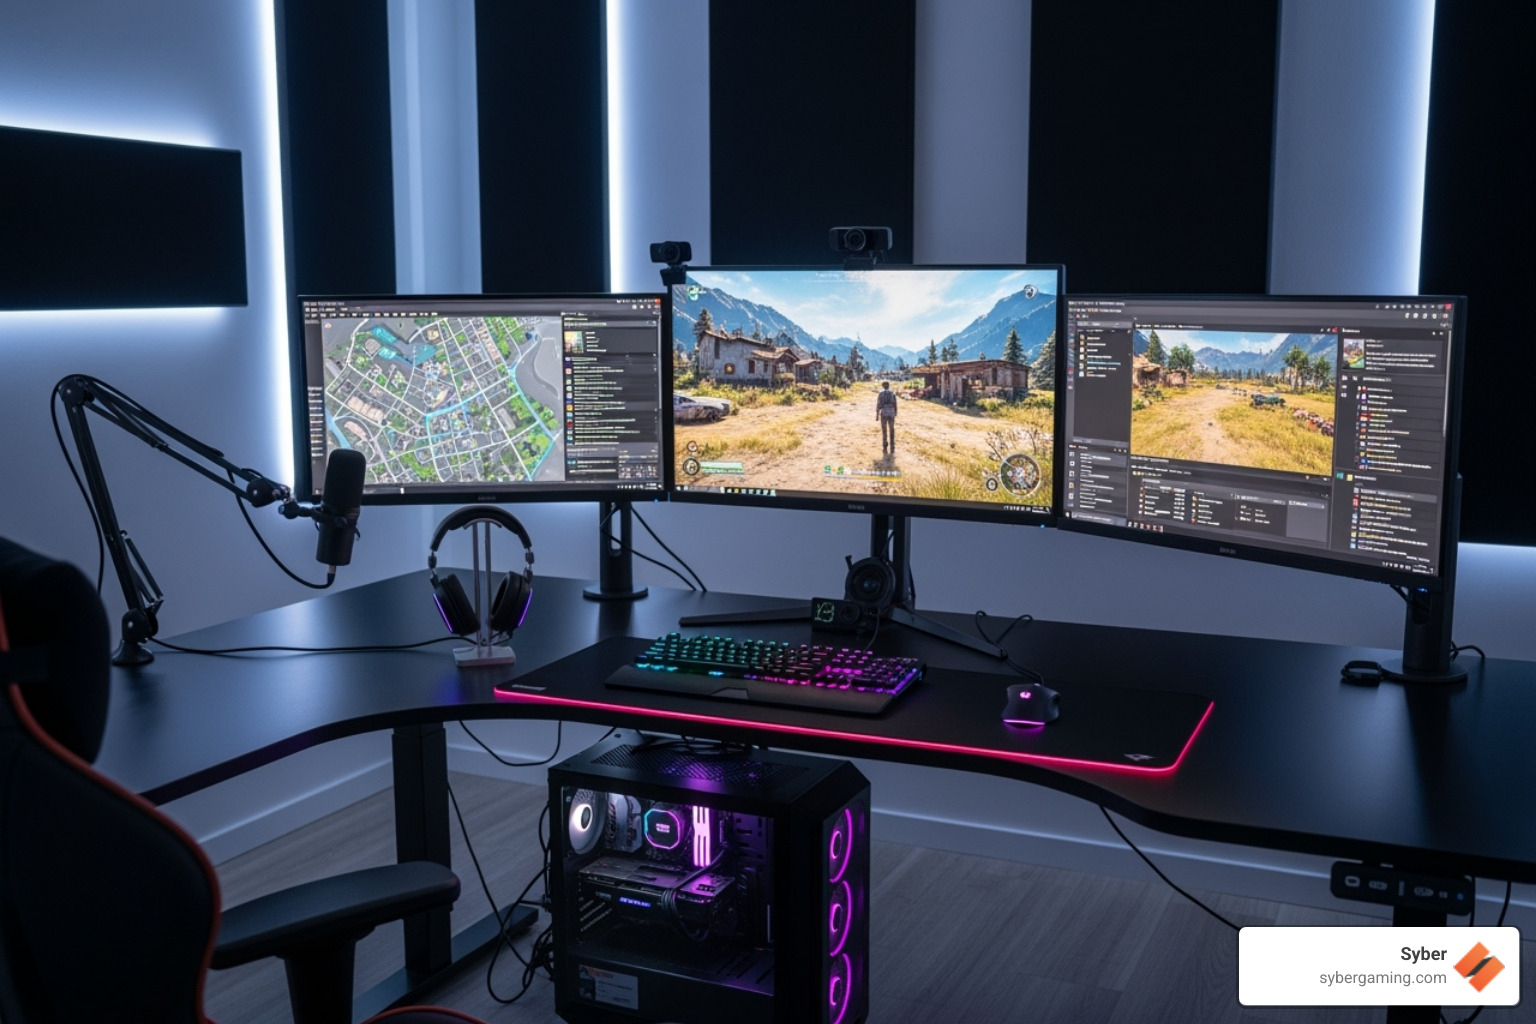
- Capacity: 16GB is the minimum for modern gaming, with 32GB recommended for streaming or content creation.
- Speed: Faster RAM, like DDR5, improves performance. Enable XMP in your BIOS to use its full speed.
Storage That Delivers
Storage speed dramatically impacts load times.
- NVMe SSDs: These are the fastest option, making your OS and games load almost instantly.
- Configuration: Use a fast SSD for your operating system and favorite games, and a larger HDD for bulk storage of other files.
Don't forget peripherals. A quality keyboard can improve your experience—check out our Ultimate Gaming Keyboard Guide.
Power, Airflow, and Casing for Your Custom Build Gaming PC
The final hardware pieces ensure reliability and performance for your custom build gaming PC.
Powering Your Performance
Your PSU must handle all components with room to spare for upgrades.
- PSU Wattage: Use a PSU Wattage Calculator to determine your needs.
- Efficiency: Higher ratings (80 Plus Gold, etc.) mean less wasted energy and heat.
- Modularity: Modular PSUs reduce cable clutter and improve airflow.
Keeping Things Cool
Proper air cooling is vital.
- Case Fans: Use intake fans to bring in cool air and exhaust fans to expel hot air. Aim for slightly positive air pressure (more intake than exhaust) to reduce dust.
- Airflow Optimization: Good cable management is key to preventing hot spots.
Your PC's Home
Your case affects cooling, ease of building, and looks.
- Size: Mid-tower cases offer a good balance of space and manageability.
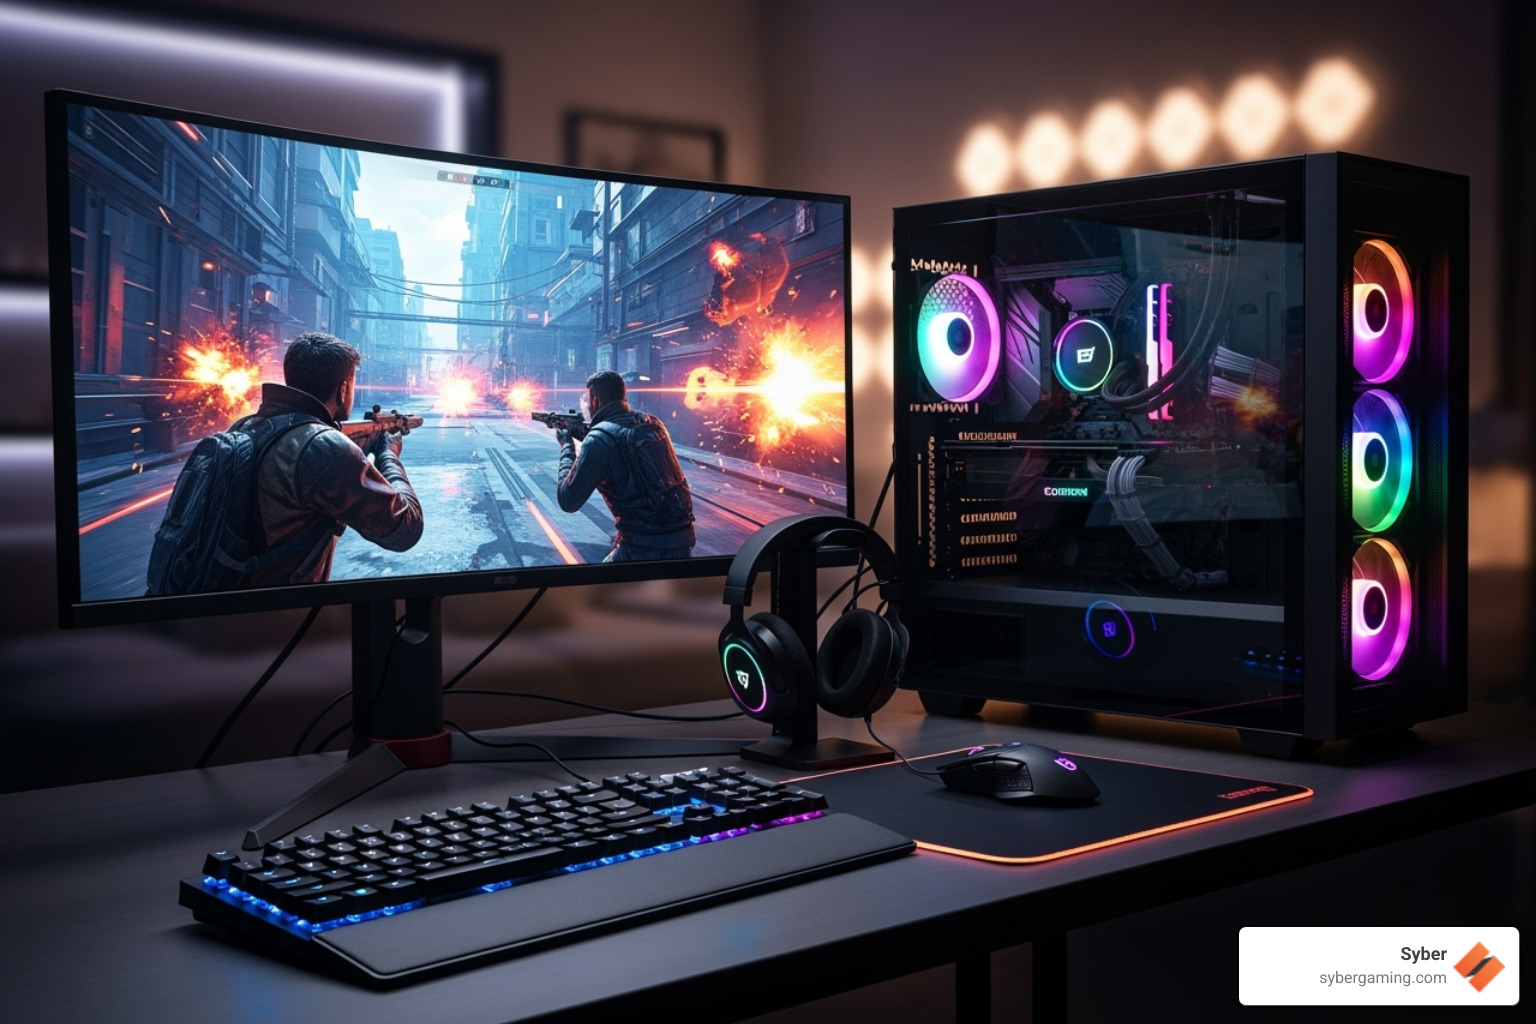
- Aesthetics: Choose a style you like, whether it's a tempered glass panel or RGB lighting.
- Cable Management: Look for cases with routing holes and tie-down points for a clean build and better airflow.
The right controller can also improve your gaming. Learn more in our guide to PC Controllers: Best on the Market.
The Assembly: How to Build Your Gaming PC From Scratch
The moment has finally arrived. All your carefully selected components are spread out before you, and it's time to build your gaming PC from the ground up. This is where your vision transforms into reality, and honestly, it's the most exciting part of the entire process.

The Step-by-Step Guide to Build Your High Performance Gaming PC
First, prepare a clean, well-lit workspace. You'll primarily need a Phillips screwdriver (magnetic tips are a plus) and some zip ties for cable management. An anti-static wrist strap is recommended to protect against electrostatic discharge.
- Motherboard Preparation: On a non-conductive surface, install the CPU by lifting the socket lever, aligning the arrows, and gently placing the processor in. Close the lever. Install any M.2 SSDs, then install the RAM by opening the clips, aligning the notch, and pressing down firmly until the clips lock.
- CPU Cooler Installation: Follow your cooler's specific instructions. Ensure solid contact with the CPU and tighten screws in a cross-pattern for even pressure.
- Case Preparation: Install the power supply first. Then, snap the motherboard's I/O shield into the back of the case.
- Motherboard Mounting: Carefully lower the motherboard onto the pre-installed standoffs in your case, aligning the ports with the I/O shield. Secure it with screws.
- GPU Installation: Remove the appropriate expansion slot covers, open the PCIe slot's retention clip, and slide the graphics card in until it clicks. Secure it with screws and connect the power cables from the PSU.
- Storage Drive Installation: Mount your SSDs or HDDs in their designated bays and connect the SATA data and power cables.
- Connecting Cables: Connect the large 24-pin motherboard power, the 8-pin CPU power, and the front panel connectors (power button, USB, etc.), using your motherboard manual for guidance.
- Cable Management: Route cables behind the motherboard tray and use zip ties to bundle them neatly. This improves airflow and aesthetics.
Common Pitfalls to Avoid:
- Forcing Components: If it doesn't fit, double-check alignment.
- Static Electricity: Work on a hard surface and ground yourself.
- Forgetting the I/O Shield: Install it before the motherboard.
- RAM Not Seated: Ensure clips are locked for dual-channel performance.
Post-Build: OS Installation and AI System Optimization for AI Gaming PC
Your assembled high performance gaming PC now needs software to become a functional AI gaming PC.
First, create a bootable USB with Windows 11, which you can download from Microsoft's official site here. Power on your PC and enter the BIOS/UEFI setup (usually by pressing DEL or F2). Verify that all your components are recognized, set the USB as the boot device, and begin the Windows installation.
After Windows is installed, driver installation is critical. Download the latest GPU drivers directly from the manufacturer's website to enable AI-powered graphics and AI graphics rendering features. Also, install your motherboard's chipset drivers for stable communication between components.
For performance optimization, enable your RAM's XMP profile in the BIOS to run it at its advertised speed. Modern hardware and software also offer AI system optimization, which provides AI-driven performance by automatically adjusting system resources. This helps your intelligent gaming PC deliver a smoother AI gaming experience and prepares it for future advanced AI gaming applications and AI PC components.
A quality gaming mouse also impacts performance. Learn more in our guide: Why Everyone Should Use a Gaming Mouse.
Resources, Final Checks, and Your Next Steps
Congratulations on building your custom build gaming PC. Before gaming, perform a few final checks.
If you run into issues, the PC building community is a great resource. The Syber Gaming Community connects you with fellow builders, and YouTube tutorials offer excellent visual guides.
Final Checks:
- All power and data cables are securely connected.
- The CPU cooler has firm contact.
- Case fans spin freely.
- The GPU is firmly seated with power connected.
Building your own AI-driven gaming rig is satisfying, but if the process seems daunting, Syber offers high performance custom prebuilt gaming pc options. These pre built gaming computers provide expert assembly and testing without sacrificing customization.
Whether you build your gaming PC or choose one of our pre built gaming pc customizable models, the goal is an exceptional gaming experience. Explore our complete range of high-performance pre-built gaming PCs at https://www.sybergaming.com/

.svg)

